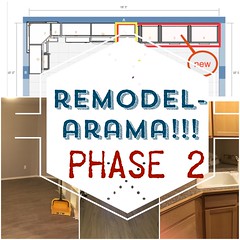
Last week, I wrote about home renovations, phase 1. Let's see where we've come.
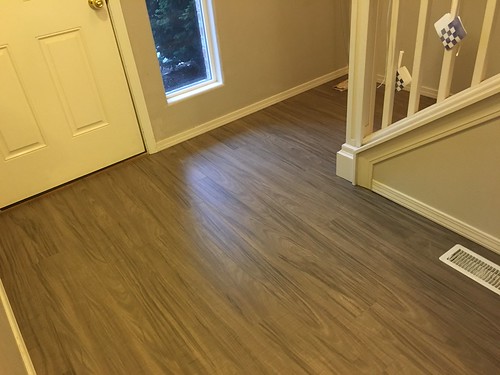
Much work went into the flooring over the course of the week. The entire downstairs is completely done with the that! The old trim has been nailed back up as well. Many of the big dings and problems in the walls have been patched. and more!
This coming week, much work will go into the counter surfaces, and demo-ing to be ready for that. So you can see the sink area all cleared and ready for the old sink to come out, the old counter top to come off, and then the new will be installed in the existing area and over the new cabinets this week.
We don't have the same lighting in each room at the moment, so it is hard to get a good picture of the floor right now. The last photo below is way too yellow! I *love* the color in person. The trim going on really made it feel more put together. and I think when the walls are painted, it will really shine from those colors too.
The wall colors will be Metropolis much of the rooms, and Blackberry Jam behind the new cabinets and on the small wall on the other side of the fridge. I looked at the previous supplies that I had purchased for a paint treatment on that small wall a good 8 years ago... I have two colors of paint, a glaze, and a silver that I had planned to use as a faux finish. I found the instructions I had picked up at that time, and things weren't absolutely jumping out at me again. I found the Valspar metal tutorial online (pin), and I went to the paint section in Lowes to see if there were other brochures. Huh, I guess wall treatments must have gone out of style? I still want to see if I can find a style I really like and do a subtle Color Blended finish using cheesecloth to blot, and then add in a silver patina finish somehow. I need to do more research. :)
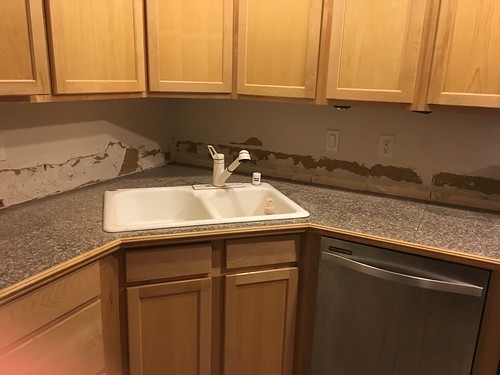 |
| PHASE 2: sink area ready for demo |
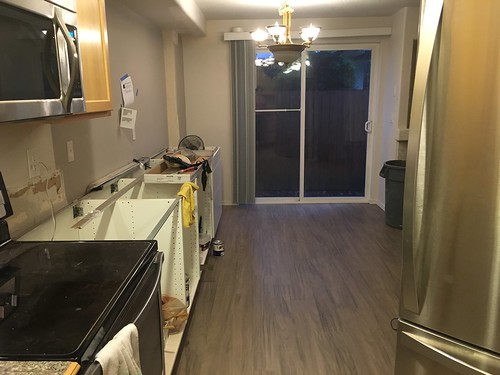 |
| PHASE 2: floor complete into dining room |
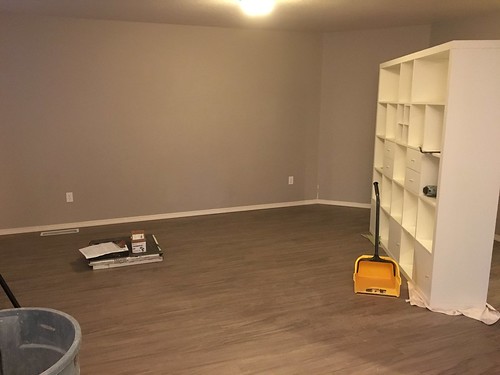 |
| PHASE 2: living room flooring is done |
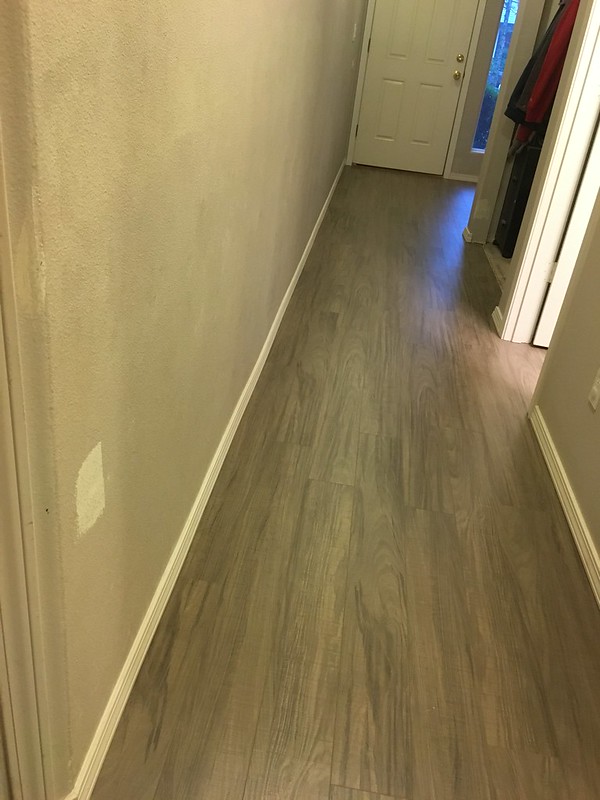 |
| PHASE 2: hallway floor plus wall patching and trim |
 |
| PHASE 2: toilet out, flooring |
 |
| PHASE 2: entryway floor, patching. |
We also spent some time time weekend looking at undercabinet lighting and track lighting for the ceiling in the dining room. The options are a bit overwhelming! But lighting is important to me, and being able to take pictures of things in my kitchen will be much more fun when I can see them and they aren't all yellow tinted!
For under cabinet lighting, we have to decide between having a hardwired set of lights (ContractorBrother is recommending this, and ElectricianFather might be able to do it for me if I ask nicely) or plugin that would be easier but not as clean looking. We looked at the IKEA lighting again for this, and I'm happy with using that, but ContractorBrother isn't as big of a fan of proprietary cords and connectors. I definitely want it to be on the brighter side, and on the cooler color of lights. I like the idea of LED so I can leave them on during cooking/the day? and not worry about wasting all the energy in the world. I want them under the 2 main counters, and possibly extending over the microwave to the other cabinet over the new counter. This is probably going to require a trip to another lighting store with ContractorBrother to get his assistance on what will work better than IKEA.
For track lighting, we have an awkward configuration and would rather not have to move the light socket. But the table will be further away from the socket. And that same piece of lighting needs to give enough lighting to the new counter. So some shapes of tracks are going to work better than others. And I don't want the ugly ones. I did like the idea of IKEA's track that lets you have a pendant hanging down on one part, but E didn't like those. E and I shall keep searching on this! It's not essential until we get the table, which will be after everything else.
Demolition on the sink area is happening downstairs as we speak. Painting should commence soon after the patching is done. This week is another big week in the remodelarama process!
We received the backsplash concrete and tile. The edging pieces were the wrong color though, so they must be reordered. But I'm glad to have it here so when my brother is ready for that part of the process, so are they.
more updates to come, both here and on @kdlb on instagram.
The whole series: Phase 1, Phase 2 and Phase 3, Phase 4, Phase 5!